使用 Azure 门户应用标记

本文介绍如何使用 Azure 门户标记资源。 有关标记建议和限制,请参阅使用标记来组织 Azure 资源和管理层次结构

添加标记

如果用户没有添加标记所需的访问权限,你可以向该用户分配“标记参与者”角色。 有关详细信息,请参阅教程:使用 RBAC 和 Azure 门户授予用户对 Azure 资源的访问权限

  1. 若要查看资源或资源组的标记,请在概述中查找现有标记。 如果以前未应用标记,则该列表为空。

    Screenshot of Azure portal showing tags for a resource group.

  2. 要添加标记,请选择“单击此处”以添加标记。

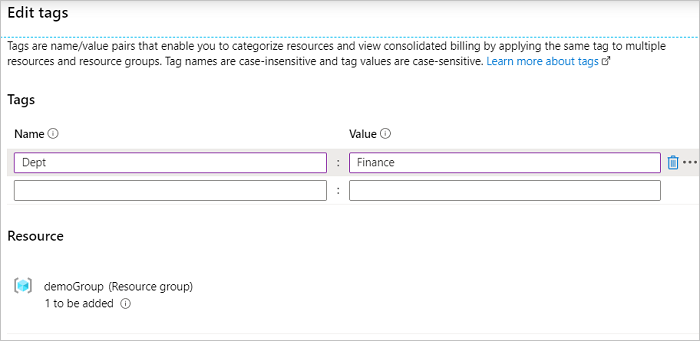
  3. 提供名称和值。

    Screenshot of Azure portal with the Add Tag dialog box open.

  4. 根据需要继续添加标记。 完成后,选择“保存”

    Screenshot of Azure portal with the Save button highlighted after adding tags.

  5. 标记现已显示在概述中。

    Screenshot of Azure portal displaying newly added tags in the overview section.

编辑标记

  1. 若要添加或删除标记,请选择“更改”

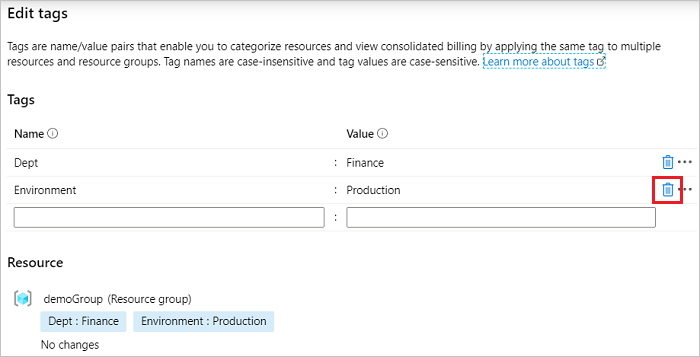
  2. 若要删除标记,请选择回收站图标。 然后选择“保存”。

    Screenshot of Azure portal with the Delete Tag icon highlighted.

向多个资源添加标记

将标记批量分配到多个资源:

  1. 从任意资源列表中,选中想要分配标记的资源的复选框。 然后,选择“分配标记”。
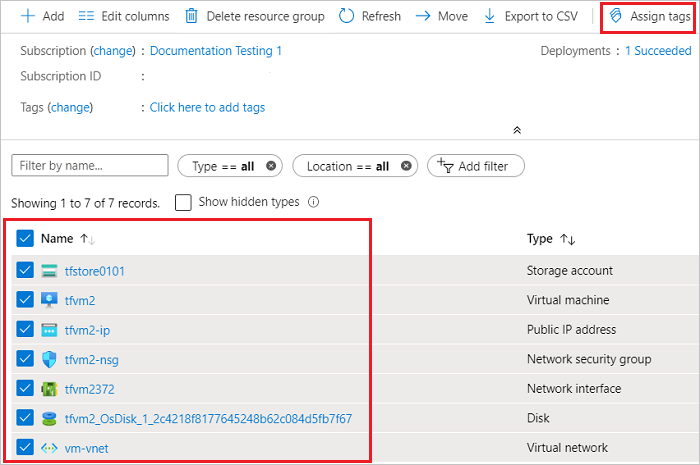
    Screenshot of Azure portal showing multiple resources selected for bulk tag assignment.

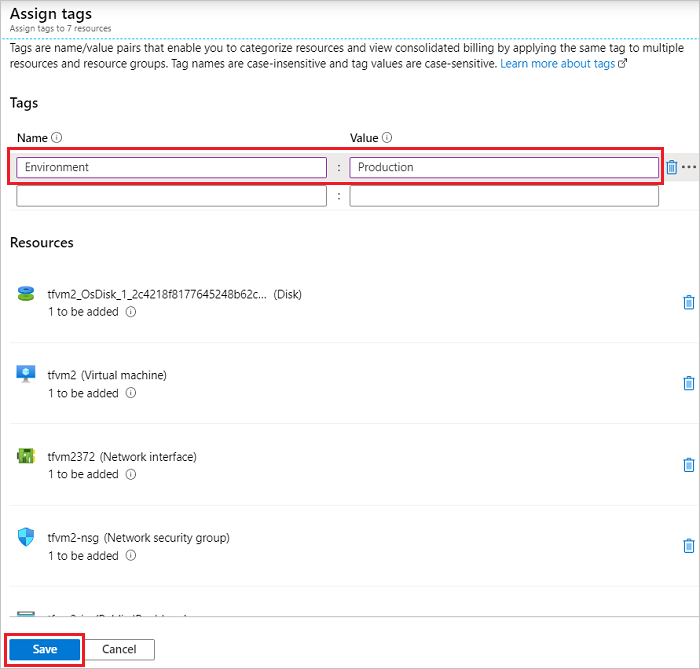
  2. 添加名称和值。 完成后,选择“保存”

    Screenshot of Azure portal with the Assign Tags dialog box open for multiple resources.

按标记查看资源

查看所有具有标记的资源:

  1. 在 Azure 门户菜单上,搜索“标记”。 从可用选项中选择它。

    Screenshot of Azure portal search bar with 'tags' entered and selected from the available options.

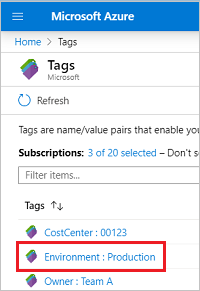
  2. 选择用于查看资源的标记。

    Screenshot of Azure portal displaying a list of tags with one selected for viewing resources.

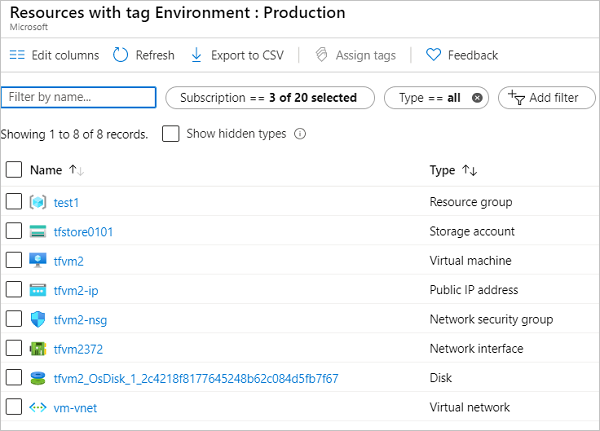
  3. 此时会显示所有具有该标记的资源。

    Screenshot of Azure portal showing a list of resources filtered by the selected tag.

后续步骤