Note
Access to this page requires authorization. You can try signing in or changing directories.
Access to this page requires authorization. You can try changing directories.
This article provides step-by-step procedure to perform Stop and Start of an Azure Database for MySQL Flexible Server instance.
Prerequisites
To complete this how-to guide, you must have an Azure Database for MySQL Flexible Server instance.
Stop a running server
In the Azure portal, choose your Azure Database for MySQL Flexible Server instance that you want to stop.
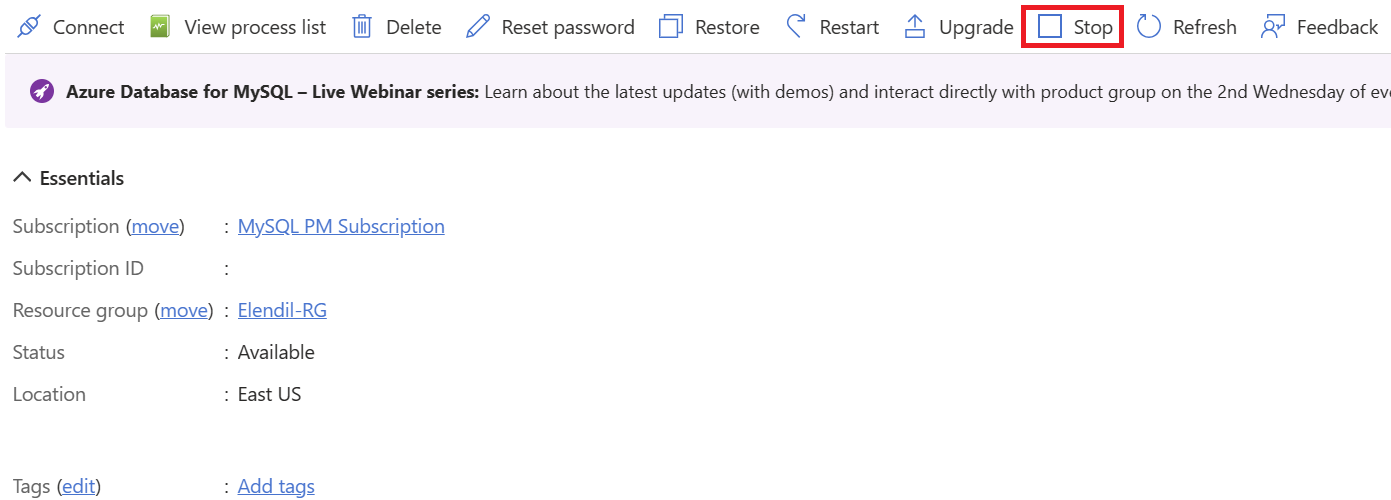
From the Overview page, select the Stop button in the toolbar.
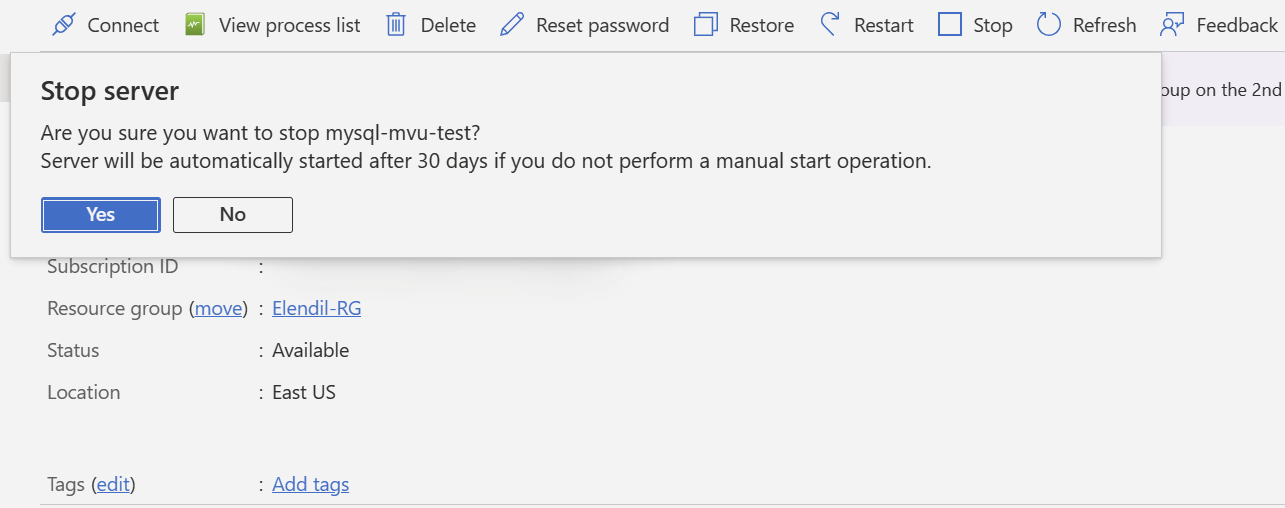
Select Yes to confirm stopping your server.
Note
Once the server is stopped, the other management operations are not available for the Azure Database for MySQL Flexible Server instance.
Automatic server start for stopped servers after 30 days
To mitigate potential disruptions resulting from servers inadvertently remaining inactive, our system is equipped with an automatic start feature. If a server remains stopped for a continuous period of 30 days, it will be automatically started.
Upon this automatic start, the server status will update to "Available," and billing for the server will commence accordingly.
Please be advised that it's not permissible to stop servers for a duration exceeding 30 days. If you foresee the need to stop your server beyond this period, it's advisable to create a backup of your server data by exporting the data and later you might want to delete the server instance to avoid unwarranted costs and enhance security. You can employ a community tool such as mysqldump.
Start a stopped server
In the Azure portal, choose your Azure Database for MySQL Flexible Server instance that you want to start.
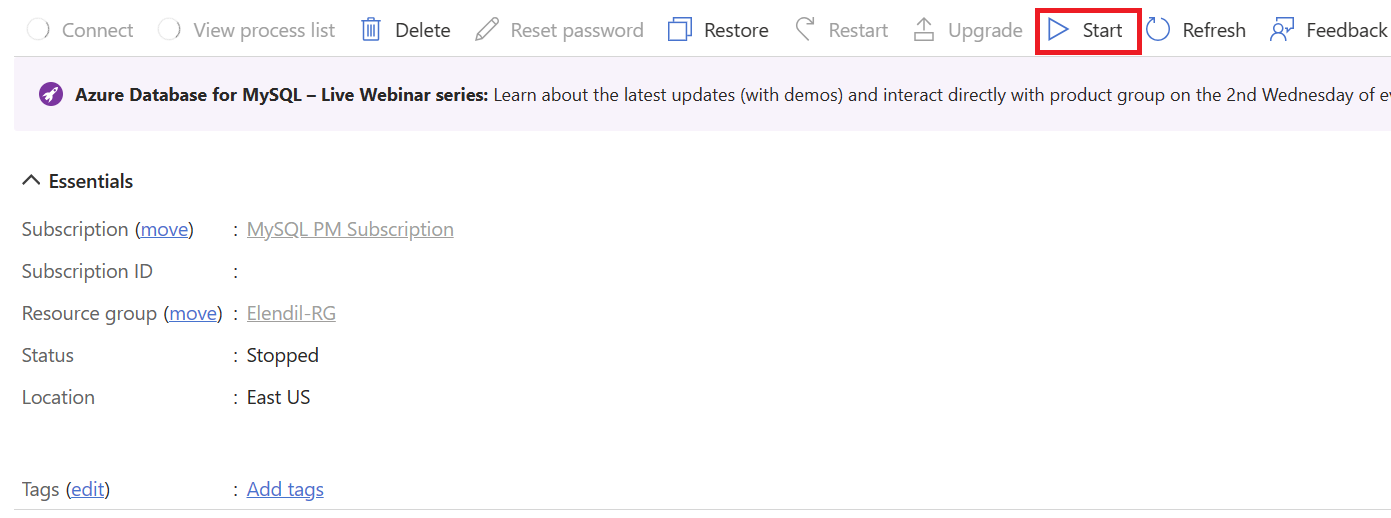
From the Overview page, select the Start button in the toolbar.
Note
Once the server is started, all management operations are now available for the Azure Database for MySQL Flexible Server instance.


