Note
Access to this page requires authorization. You can try signing in or changing directories.
Access to this page requires authorization. You can try changing directories.
This article helps you update contact information for a billing account in the Azure portal. The instructions to update the contact information vary by the billing account type. To learn more about billing accounts and identify your billing account type, see View billing accounts in Azure portal. An Azure billing account is separate from your Azure user account and Microsoft account.
If you want to update your Microsoft Entra user profile information, only a user administrator can make the changes. If you're not assigned the user administrator role, contact your user administrator. For more information about changing a user's profile, see Add or update a user's profile information using Microsoft Entra ID.
Sold-to address - The sold-to address is the address and the contact information of the organization or the individual, who is responsible for a billing account. In other words, the sold-to information describes the legal entity. It's displayed in all the invoices generated for the billing account.
Bill-to address - The bill-to address is the address and the contact information of the organization or the individual, who is responsible for paying the invoices generated for a billing account.
- For a billing account for a Microsoft Online Service Program (MOSP), the bill-to address appears on credit card or invoice information. For MOSP accounts, your bill-to information is the same as your payment information (credit card or invoice details).
Note
If you want to update your bill-to information instead, see Edit credit card details.
- For a billing account for a Microsoft Customer Agreement (MCA), there's a bill-to address for each billing profile and it's displayed in the invoice generated for the billing profile.
Contact email address for service and marketing emails - You can specify an email address that's different from the email address that you sign in with to receive important billing, service, and recommendation-related notifications about your Azure account. Service notification emails, such as urgent security issues, price changes, or breaking changes to services in use by your account are always sent to your sign-in address.
Prerequisites
None
Update an MOSP billing account sold-to address
Use the following information to update your sold-to address.
Sign in to the Azure portal using the email address, which has the account administrator permission on the account.
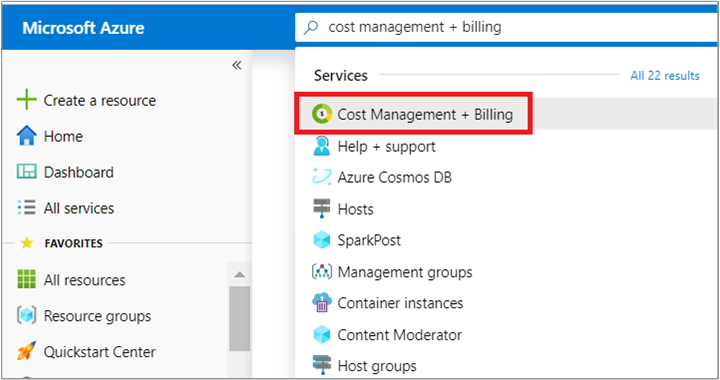
Search for Cost Management + Billing.
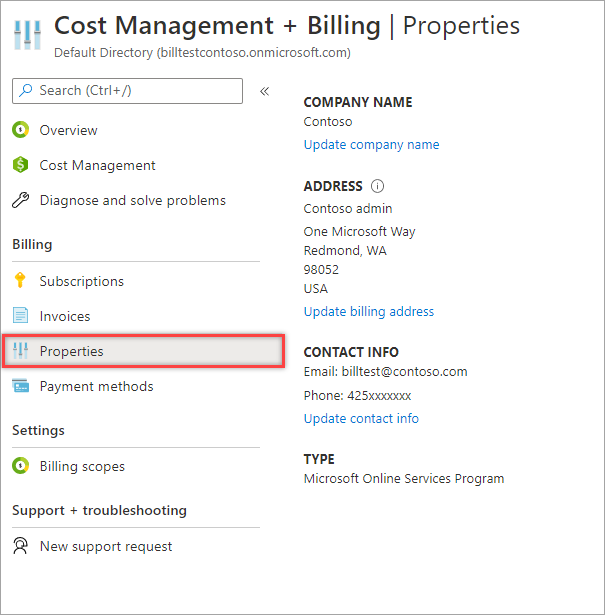
Select Properties from the left-hand side.
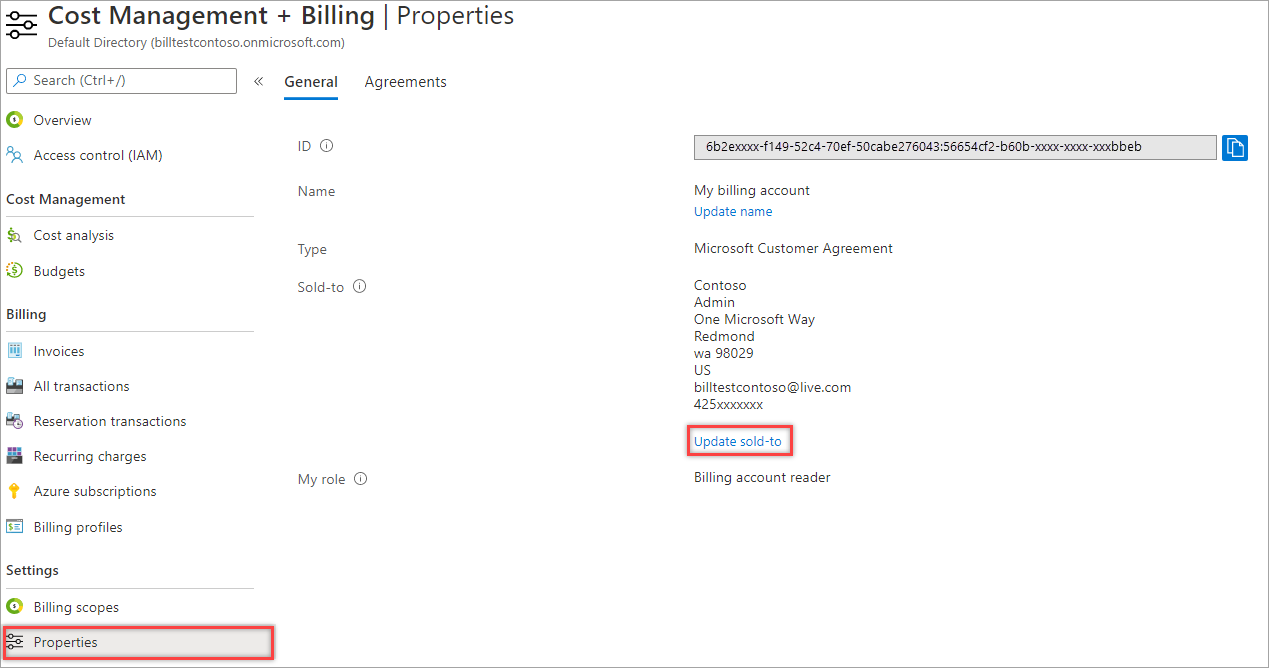
Select Update sold to to update the sold-to address.
Enter the new address and then select Save.
Update an MCA billing account sold-to address
Follow these steps:
Sign in to the Azure portal using the email address, which has an owner or a contributor role on the billing account for a Microsoft Customer Agreement.
Search for Cost Management + Billing.
Select Properties from the left-hand side and then select Update sold-to.
Enter the new address and select Save.
Important
Some accounts require additional verification before their sold-to can be updated. If your account requires manual approval, you would be asked to contact Azure support.
Update an MCA billing account address
Follow these steps:
Sign in to the Azure portal using the email address, which has an owner or a contributor role on a billing account or a billing profile for an MCA.
Search for Cost Management + Billing.
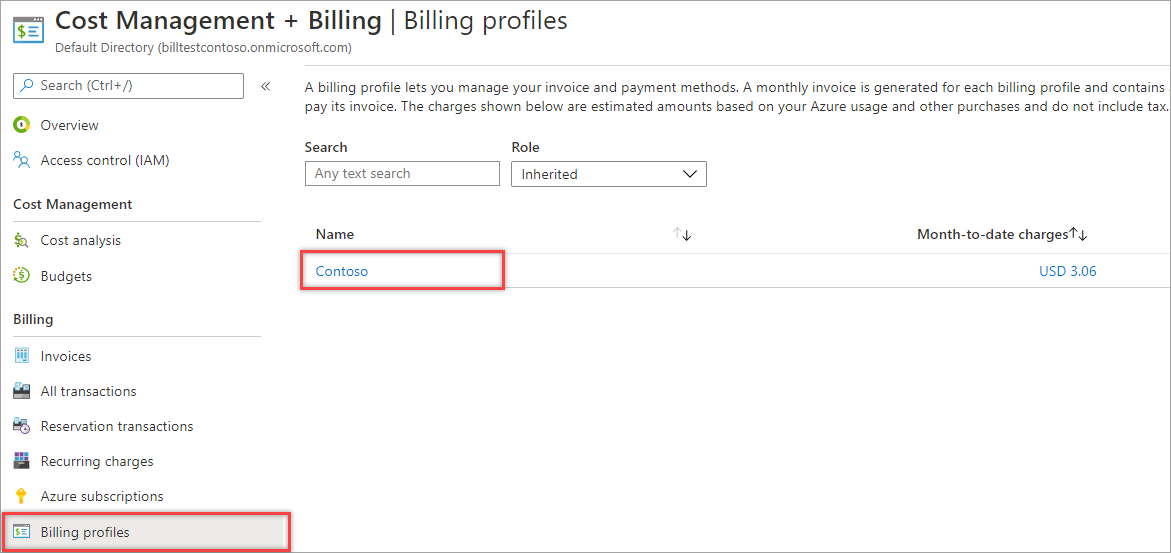
Select Billing profiles from the left-hand side.
Select a billing profile to update the billing address.
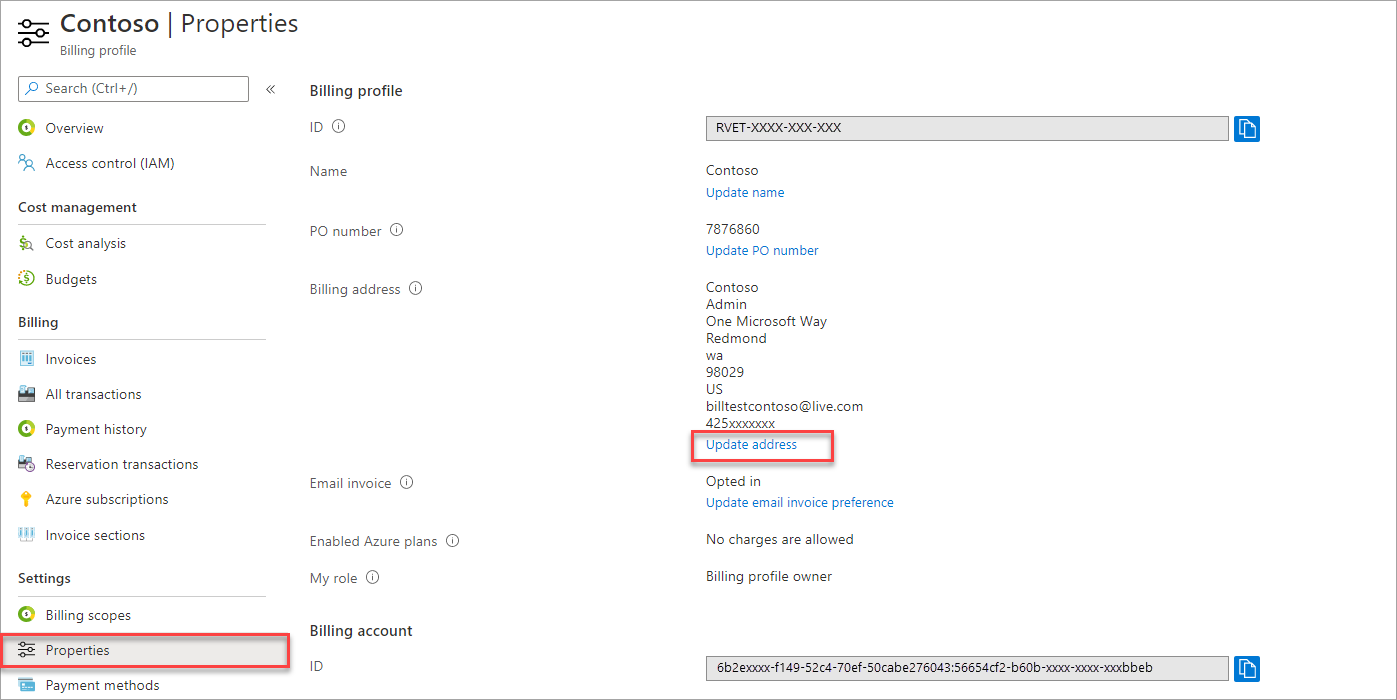
Select Properties from the left-hand side.
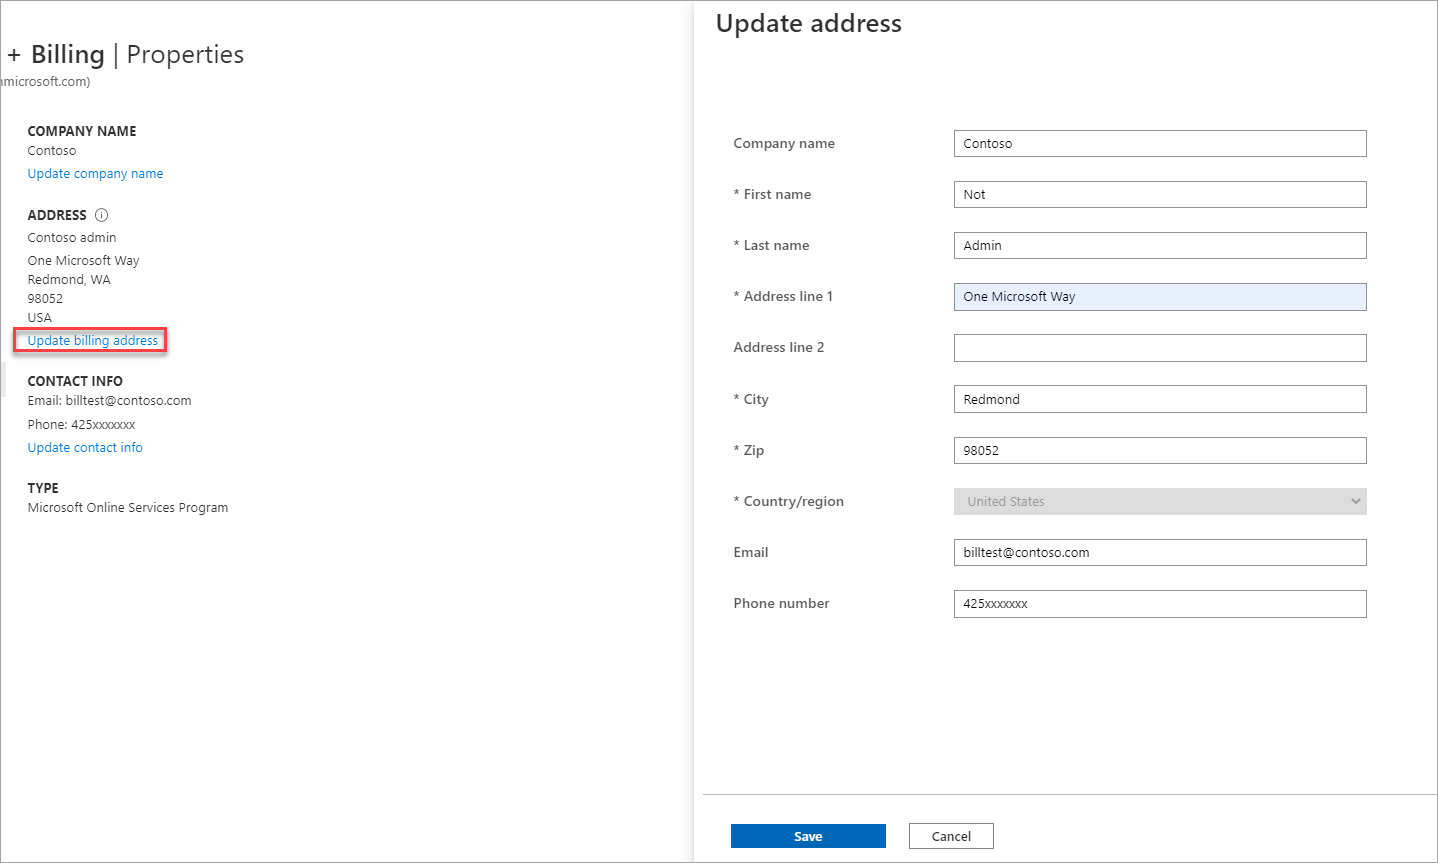
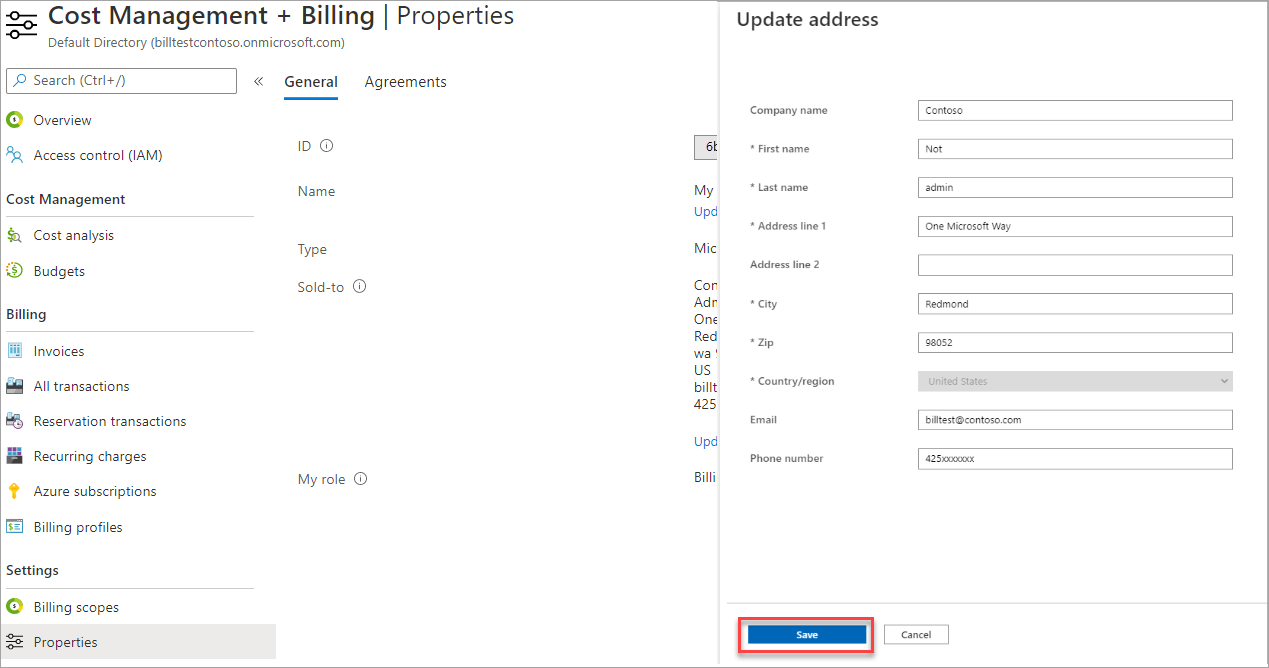
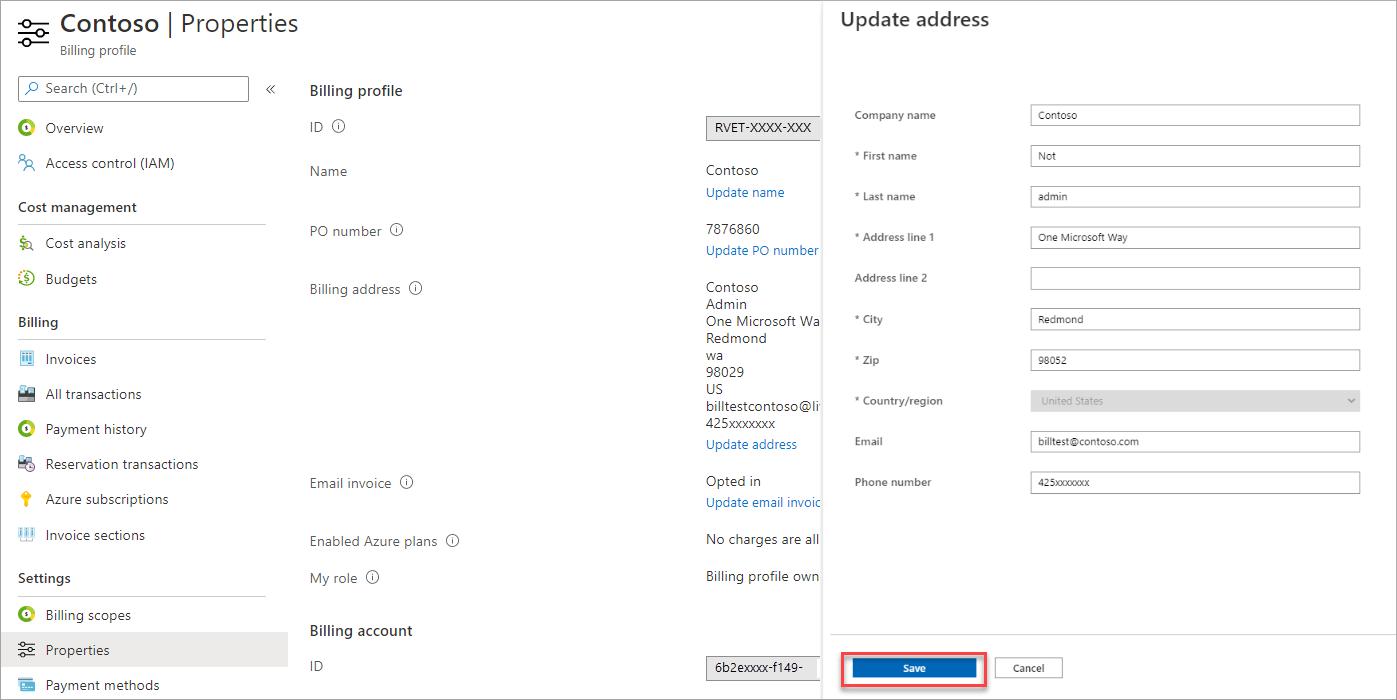
Select Update address.
Enter the new address and then select Save.
Add a PO number
By default, invoices for the billing profile don't have an associated PO number. After you add a PO number for a billing profile, the system uses the updated PO number in the next invoice. Afterward, the PO number appears in invoices for the billing profile.
To add a PO number for a billing profile, use the following steps.
Sign in to the Azure portal.
Search for Cost Management + Billing and then select Billing scopes.
Select your billing scope.
In the left menu under Billing, select Billing profiles.
Select the appropriate billing profile.
In the left menu under Settings, select Properties.
Select Update PO number.
Enter a PO number and then select Update.
Update a PO number
If you want to update a PO number from an unpaid invoice, select the invoice ID and update the PO number from the invoice. The system regenerates the invoices within 24 hours.
To change the PO number for a billing profile, use the following steps.
Sign in to the Azure portal.
Search for Cost Management + Billing and then select Billing scopes.
Select your billing scope.
In the left menu under Billing, select Billing profiles.
Select the appropriate billing profile.
Select Invoices.
Select the Invoice ID that you want to update.
Select Change Bill to + PO number and then select Update PO number.
In the Update PO number window, enter a PO number and the select Update.
Update your tax ID
Ensure you update your tax ID after moving your subscriptions. The tax ID is used for tax exemption calculations and appears on your invoice. To update billing account information
Sign in to the Microsoft Store for Business or Microsoft Store for Education.
Select Manage, and then select Billing accounts.
On Overview, select Edit billing account information.
Make your updates, and then select Save.
Service and marketing emails
You get prompted in the Azure portal to verify or update your email address every 90 days. Microsoft sends emails to this email address with Azure account-related information for:
- Service notifications
- Security alerts
- Billing purposes
- Support
- Marketing communications
- Best practice recommendations, based on your Azure usage
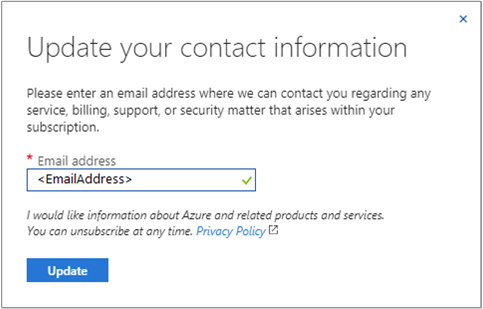
Enter the email address where you want to receive communications about your account. By entering an email address, you're opting in to receive communications from Microsoft.
Change your contact email address
You can change your contact email address by using one of the following methods. Updating your contact email address doesn't update the email address that you sign in with.
- If you're an account administrator for an MOSP account, follow the instructions in Update an MOSP billing account sold-to address and select Update contact info in the last step. Next, enter the new email address.
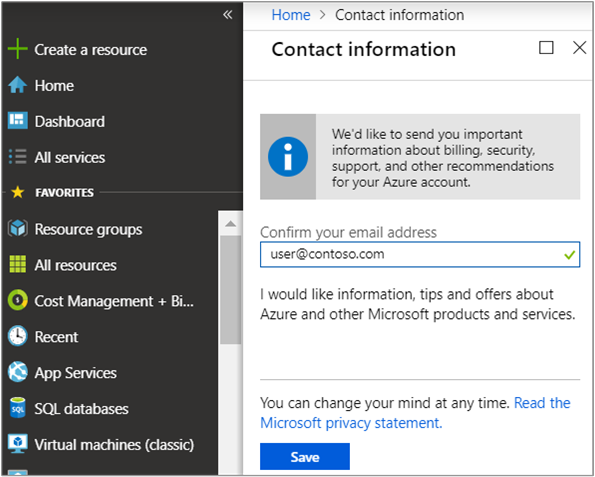
- Go to the Contact information area in the Azure portal and enter the new email address.
- In the Azure portal, select the icon with your initials or picture. Then, select the context menu (...). Next, select My Contact Information from the menu and enter the new email address.
Opt out of marketing emails
To opt out of receiving marketing emails:
Go to the request form to submit a request by using your profile email address. You'll receive a link by email to update your preferences.
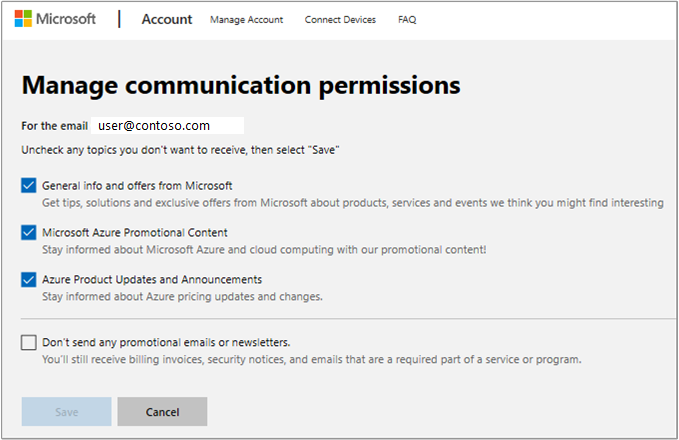
Select the link to open the Manage communication permissions page. This page shows you the types of marketing communications that the email address is opted in to. Clear any selections that you want to opt out of, and then select Save.
When you opt out of marketing communications, you still receive service notifications, based on your account.
Update the email address that you sign in with
You can't update the email address that you use to access your account directly. However, you can work around this issue.
If you have a billing account for an MOSP, you can sign up for another account using the new email address and transfer ownership of your subscriptions to the next account.
For an MCA billing account, you can give the new email address permissions on your account.
Change the subscription name
To protect Azure subscriptions from misuse, renaming a subscription is monitored for suspicious activity. You can only rename a subscription twice in a five-minute period.
Follow these steps:
Sign in to the Azure portal, select Subscription from the left pane, and then select the subscription that you want to rename.
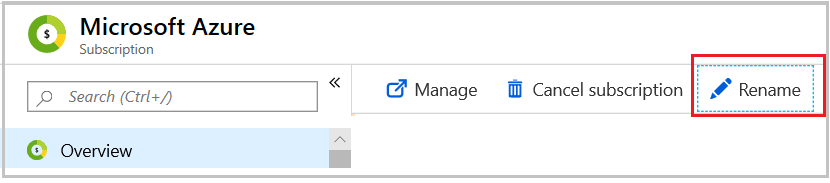
Select Overview, and then select Rename from the command bar.
After you change the name, select Save.